One of my family members is having a baby, and uses Best Bottom diapers. I'm making her some newborn/small covers and soakers so there won't be quite so many snaps. This is a tutorial/story of my journey because I've learned a lot and it may save you from making the same mistakes I did.
First of all, I cut out two layers of PUL (a rubber backed knit sold specifically for making diapers). After I put all my snaps on, I zig zag the two layers together before sewing the double sided elastic on.
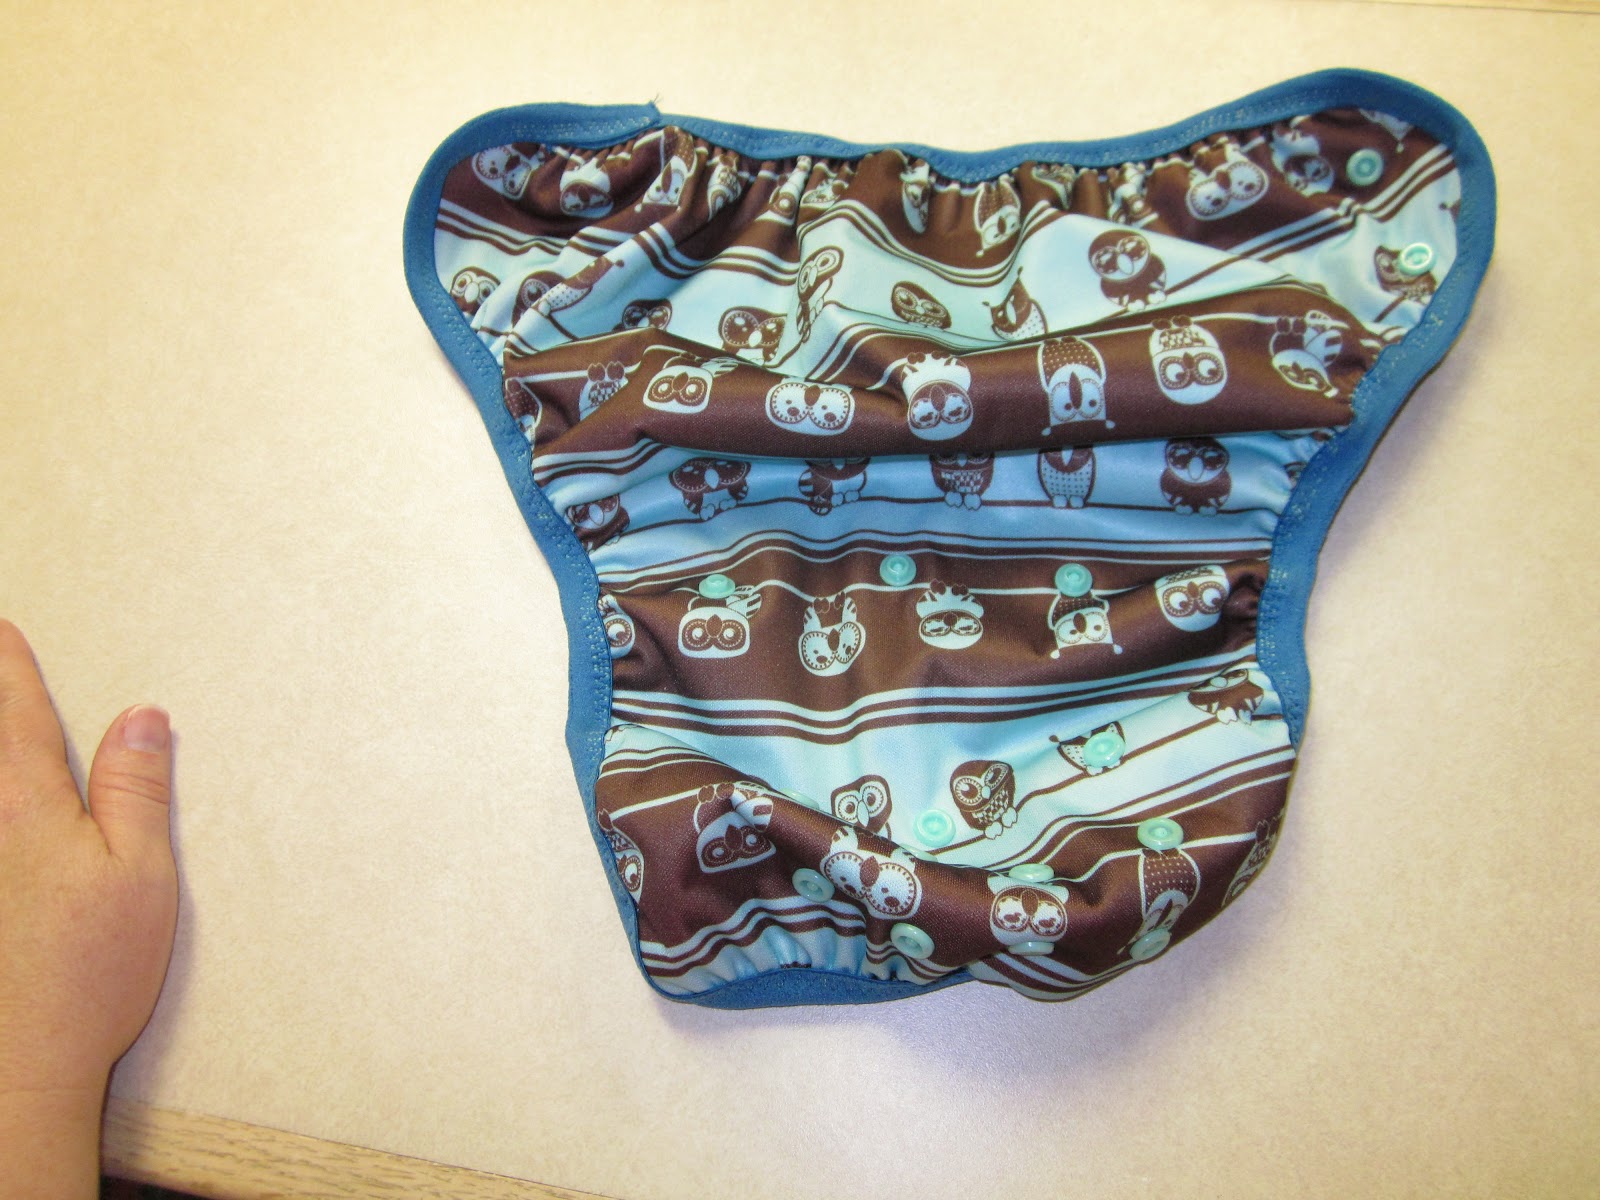
A completed diaper laying open
A completed diaper snapped up. There is a fold on the front with snaps so the diaper can grow a couple inches. Those newborns tend to shoot up (except mine, which were in size 1 for months).
Snap arrangement for the inside diaper layer. There are two snaps in the middle for the soaker pad. These are the fat snap, and the soaker has the Male snap, or skinny snap.
Don't look in my sink. Before I added the outside layer snaps on the extra plain PUL I had, I embroidered some designs. I had a lot of plain pieces because I used PUL to make raincoats for two kids. They are super comfy. The plain is cheaper, so if you have access to an embroidery machine, or other ideas, I highly recommend it.
I just found out they sell embroidery machines that clip these threads. I highly recommend it.
This is a close up of the zig zagging and a mistake, too. I discovered that somewhere around midnight I started putting the wrong snap (on the left) on the inside. I had to open up the diapers and put the right one (on the right) next to it. Sorry, Tarah! I hope Ravi doesn't mind figuring out which is which on half the diapers! Recommended fix- do a step at a time, not a diaper at a time. I finished up by doing all of the correct soaker snaps for the rest of the insides, then moved to the flap snaps.
Stack of diapers waiting on the last step: Fold-Over Elastic. This stuff is great. But even here I learned a lesson. Most vendors I found were selling the plush double side elastic, like Babyville carries. But one had a thinner brand, and it is scratchy. So now I'll be looking for the wider, plush elastic. I may even put the wide stuff over the scratchy stuff because the diaper I used it on is so cute! See the picture below, the 500 diaper on the right:
Again, apologies for the sink.
My embroidery machine at work. Usually it is recommended to embroider first then cut out, but PUL is expensive, and I used every inch I could. Even the scraps, which I used to reinforce the snaps in the back. I didn't have any problem fitting the frame either down or across. Although I found long designs tend to show up on the front. (yet another embarrassing mistake, since it was Cat in the Hat with his hands folded...in a bad spot).
I'm more than blundering through this, since I only used disposables on my kids, but I will tell you one thing: I love making these diapers!!! I kick myself that I never thought of doing this with mine (availability of supplies sure is better now, though). I've enjoyed every diaper, and at the end of each I hold it up and it's so darn cute!
Make sure to use the wrong side up in the inside of the diaper for a wipeable surface! Unfortunately I didn't discover this until too late.
Next up- soakers. If you have any questions, please leave a comment.